Sewing Holed Buttons: A Comprehensive Guide for Beginners and Experts
Sewing holed buttons is a fundamental skill that every sewing enthusiast should master. Whether you're repairing a loose button or adding decorative buttons to a garment, knowing how to sew them properly ensures durability and a polished finish. This button sewing tutorial will guide you through the process of sewing buttons by hand, focusing on both 4-hole buttons and two-hole buttons.
Materials Needed
Before starting, gather the following materials:
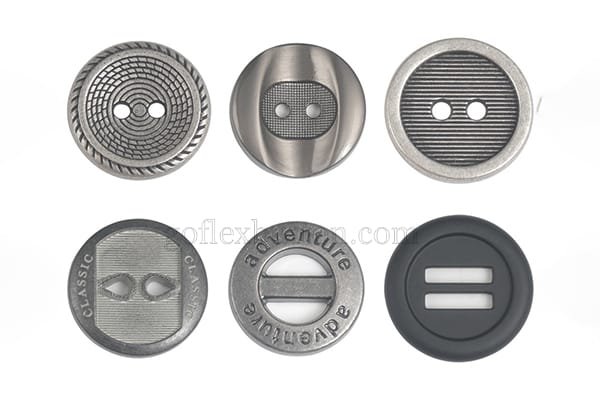
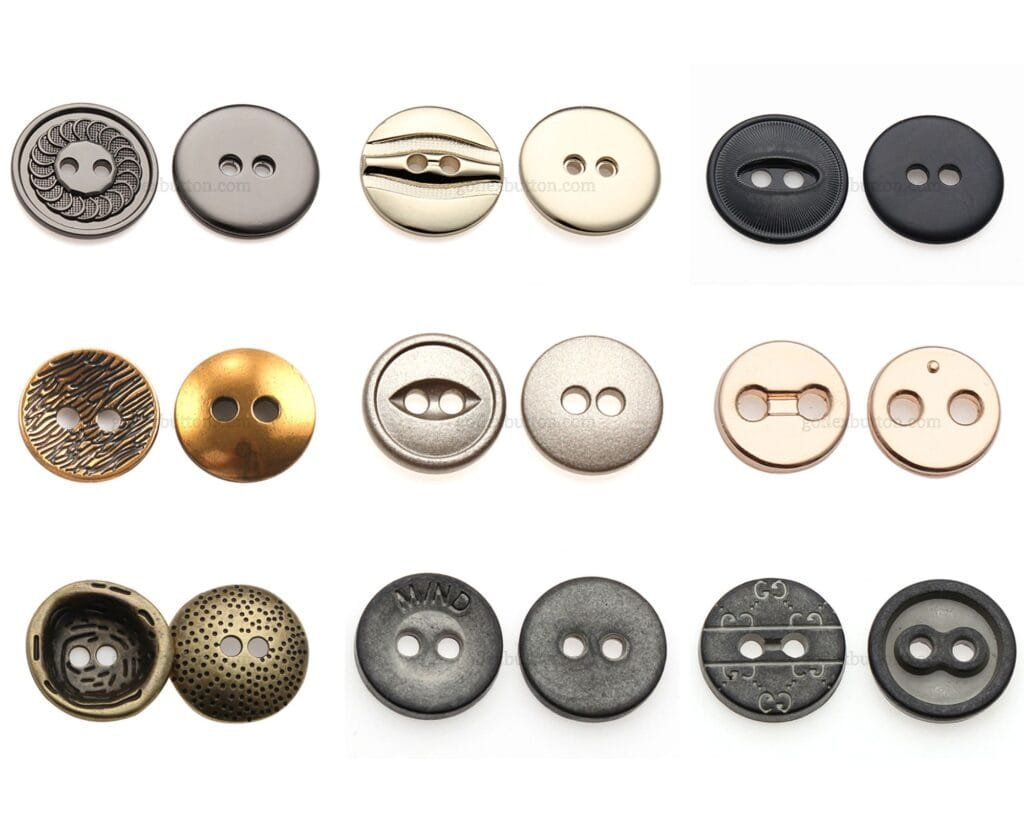
A holed button (either 4-hole or two-hole)
Thread (matching the fabric or button color)
A needle (appropriate for the fabric thickness)
Scissors
A thimble (optional, for added protection)
Fabric or garment needing the button
Step-by-Step Guide to Attaching Holed Buttons
Step 1: Thread the Needle
Cut a length of thread (about 18-24 inches) and thread it through the needle. Tie a knot at the end of the thread. For added strength, you can double the thread by tying both ends together.
Step 2: Mark the Button Placement
Position the button on the fabric where you want it to be attached. Use a fabric marker or a pin to mark the spot. This ensures accuracy when sewing buttons on clothes.
Step 3: Start Sewing
Insert the needle from the back of the fabric to the front at the marked spot.
Pull the thread through until the knot catches.
For 4-hole buttons, insert the needle through one hole and pull the thread through. Then, insert the needle diagonally or straight across into the opposite hole and pull it through to the back. Repeat this process for the remaining holes.
For two-hole buttons, insert the needle through one hole, pull the thread through, and then insert it into the second hole. Repeat this process several times to secure the button.
Step 4: Create a Shank (Optional)
For thicker fabrics, creating a shank (a small space between the button and fabric) allows the button to sit more comfortably. To do this:
Place a toothpick or small pin on top of the button before sewing.
Sew over the toothpick as you attach the button.
Once finished, remove the toothpick and wrap the thread around the stitches under the button to form the shank.
Step 5: Secure the Thread
After sewing the button, bring the needle to the back of the fabric. Wrap the thread around the stitches a few times to secure it, then tie a knot. Trim any excess thread.
Tips for Button Sewing for Beginners
Use a thimble to protect your fingers when pushing the needle through thick fabric.
Choose a thread color that matches the button or fabric for a seamless look.
For hand-sewing buttons guide, practice on a scrap piece of fabric before working on your garment.
Ensure the stitches are tight but not too tight, as this can cause the fabric to pucker.
Differences Between 4-Hole Buttons and Two-Hole Buttons
4-hole buttons offer more stability and are ideal for heavier fabrics or garments that undergo frequent stress, like coats or jeans.
Two-hole buttons are simpler to sew and are often used for lightweight fabrics or decorative purposes.
Common Mistakes to Avoid
Skipping the shank: This can cause the button to sit too tightly on the fabric, making it difficult to button and unbutton.
Using weak thread: Always use strong, durable thread to prevent the button from coming loose.
Uneven stitches: Ensure your stitches are even and consistent for a professional finish.
Applications of Sewing Holed Buttons
Repairing clothes: Fix loose buttons on shirts, pants, or jackets.
Customizing garments: Add decorative buttons to dresses, blouses, or bags.
Craft projects: Use buttons in DIY projects like quilting or embroidery.
Mastering the art of sewing holed buttons is a valuable skill that enhances your sewing repertoire. Whether you're following this button sewing tutorial for the first time or refining your technique, this hand-sewing buttons guide ensures you can confidently attach buttons to any garment. With practice, you'll find that sewing buttons by hand becomes a quick and satisfying task, perfect for both repairs and creative projects.
By understanding the nuances of 4-hole buttons and two-hole buttons, you can choose the right method for your project and achieve professional results every time. Happy sewing!d enhances the functionality of garments, accessories, and other textile products. Incorporate these versatile fasteners into your designs to achieve both practicality and style!
GOFLEX
For inquiries about our products, please email us, and we will respond within 24 hours.